Getting Started — Your First Collection
This guide walks you through creating your first collection in MDCollections — from setting up the folder structure to configuring your properties and adding your first item. By the end, you’ll have a working collection ready to grow.
What Makes Up a Collection
Every collection in MDCollections is built on three things:
- An Item Folder — this is where your item
.mdfiles live. Each item in your collection becomes a Markdown file in this folder. - An Asset Folder — this is where images, documents, and other files attached to your items are stored.
- A Template File — this file defines the editable properties for your items (the fields you’ll fill in for each one). We recommend keeping the template file in its own folder, as MDCollections saves backups there whenever you make changes to your collection’s property definitions.
Here’s what a typical collection looks like on your filesystem:
|- My Collection/
   |- assets/
   |  |- img1.jpg
   |  |- img2.jpg
   |  |- ...
   |
   |- template/
   |  |- My Collection Template.md
   |
   |- Item One.md
   |- Item Two.md
   |- ...
You don’t need to create this structure by hand — MDCollections walks you through it. But it’s helpful to understand what’s happening under the hood, especially since all of these are just regular files and folders you can browse, back up, or open in other apps.
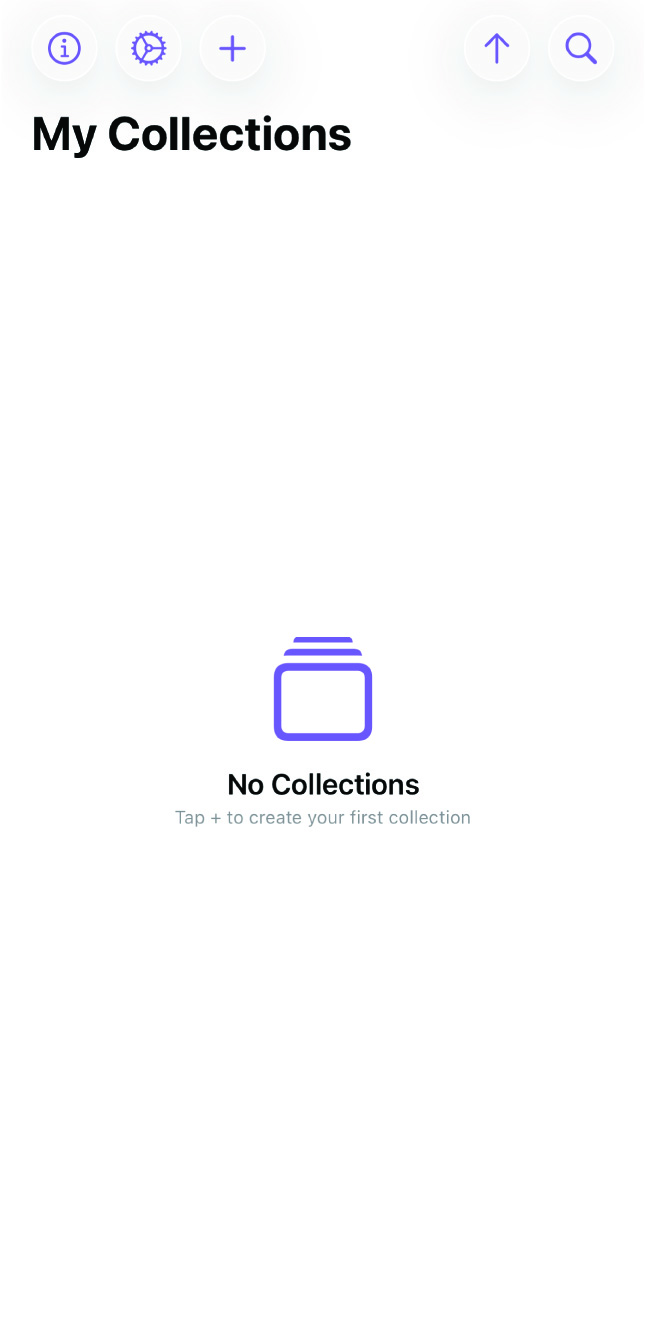
Step 1: Create a Collection
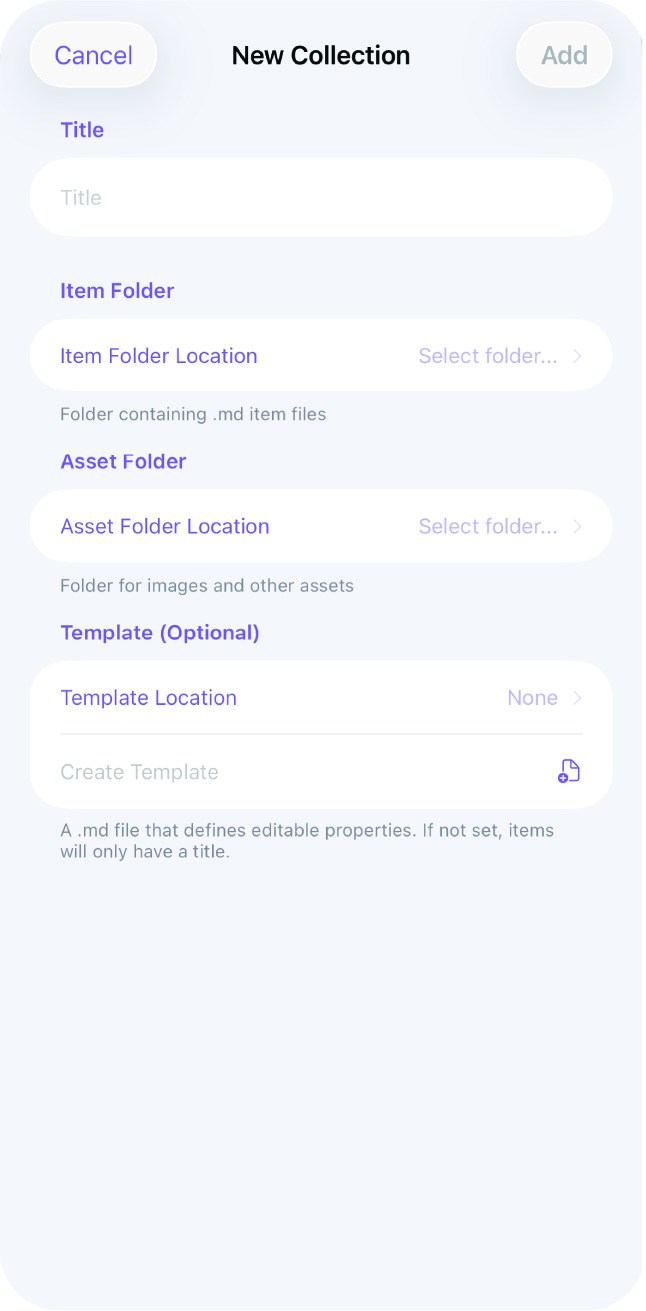
Tap the + button on the “My Collections” screen to start a new collection. You’ll be guided through three choices:
-
Select or create an Item Folder — this is the root folder for your collection. You can pick an existing folder or create a new one. All of your item files will be stored here.
-
Select or create an Asset Folder — this is where images and documents for your items will go. It should be nested inside your item folder to keep everything together.
-
Select or create a Template File — this file defines the properties your items will have. It should live in its own folder inside the item folder (e.g., a
template/subfolder). MDCollections uses this folder to store backups of your property definitions when you make changes.
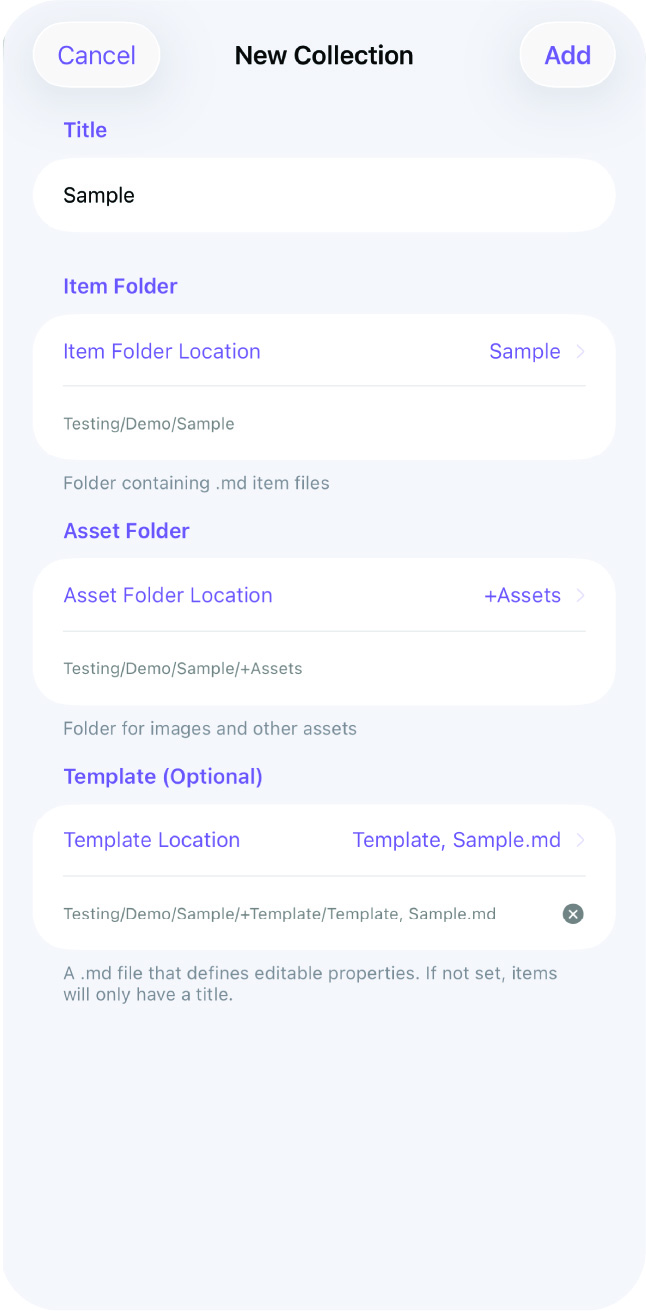
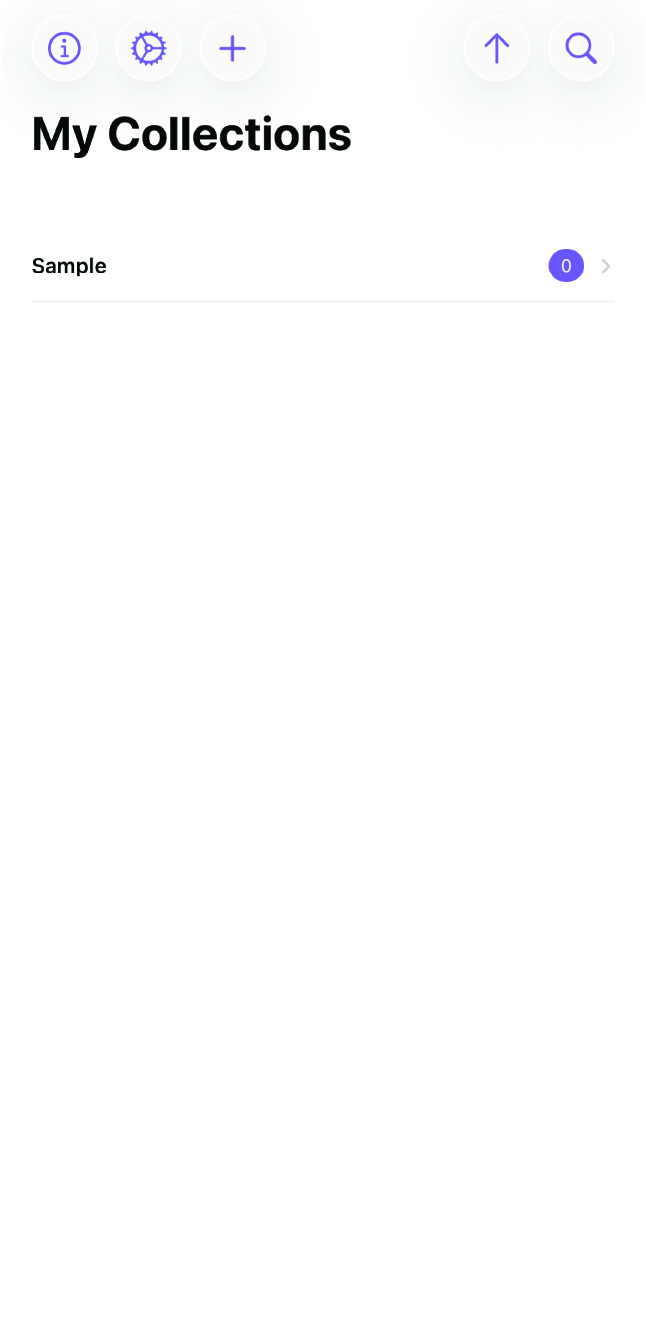
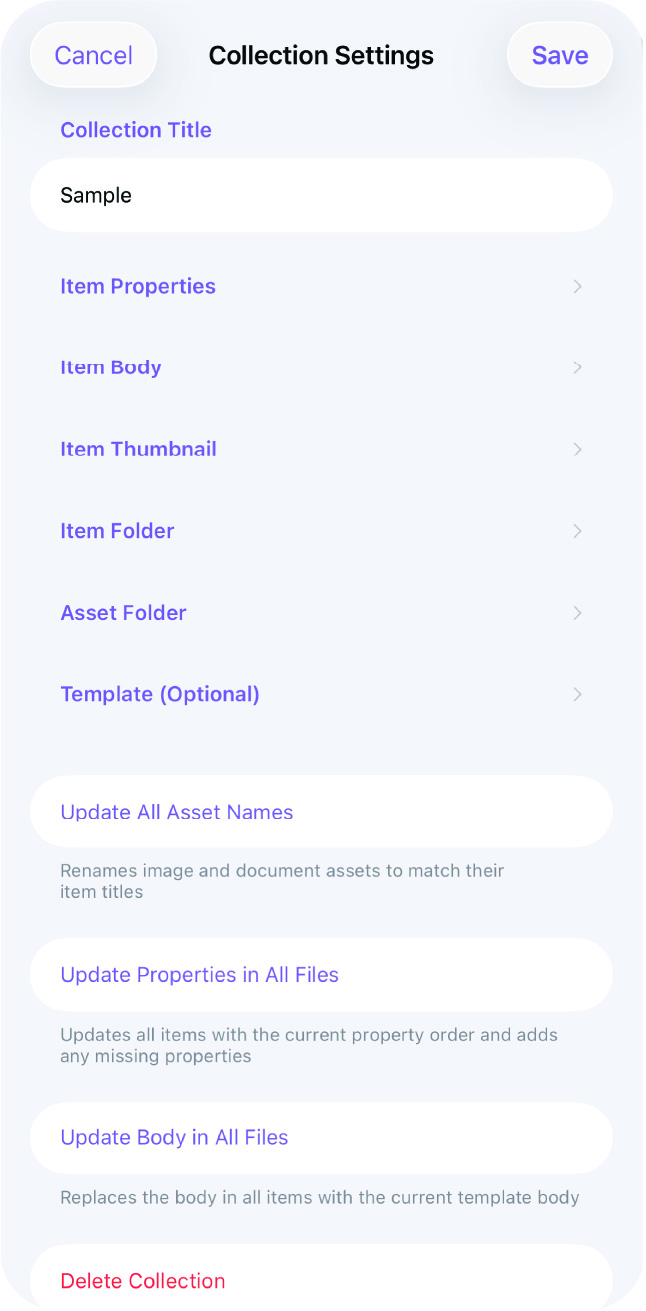
Once you’ve made these selections, your collection is created and you’ll land on the collection settings screen.
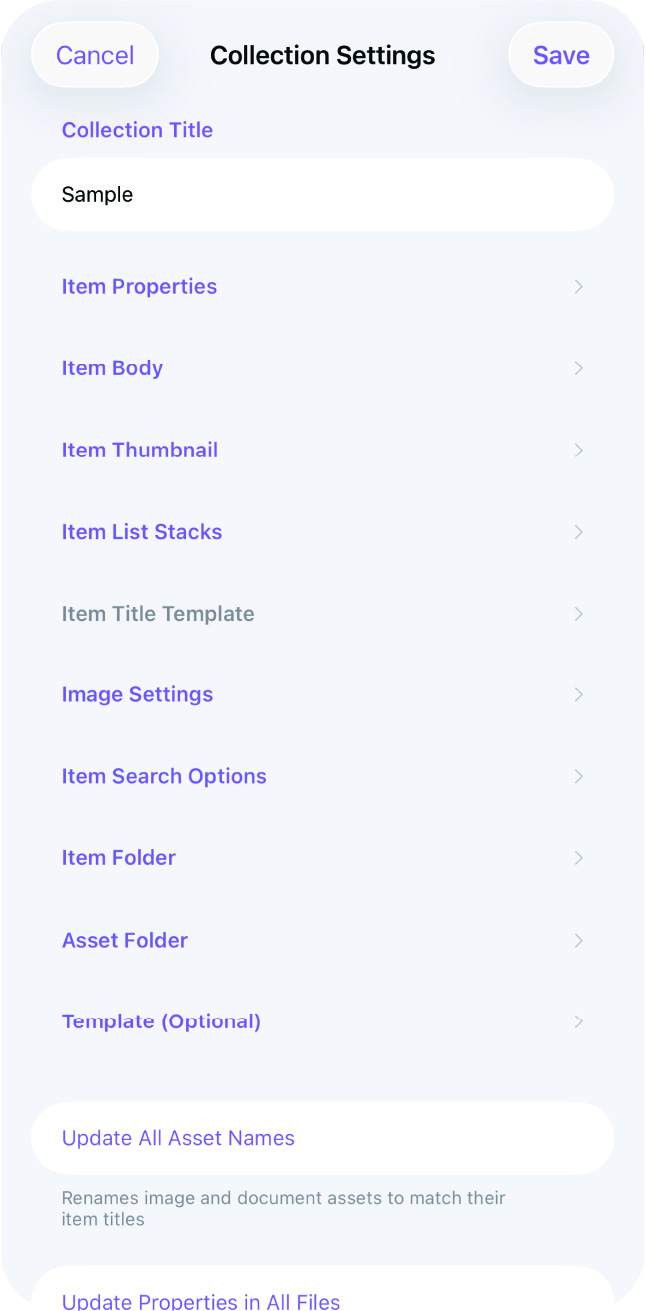
Step 2: Configure Your Collection
Before adding items, take a moment to set up your collection the way you want it. The settings screen gives you control over how your collection looks and behaves.
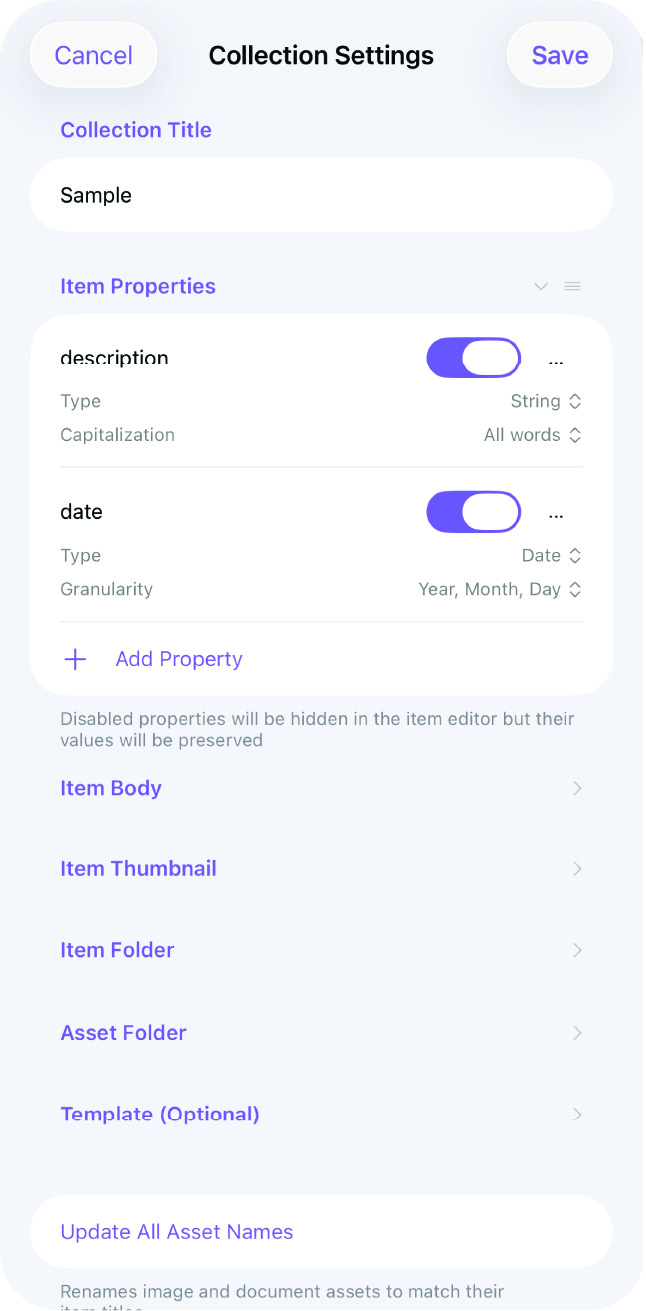
Define Your Properties
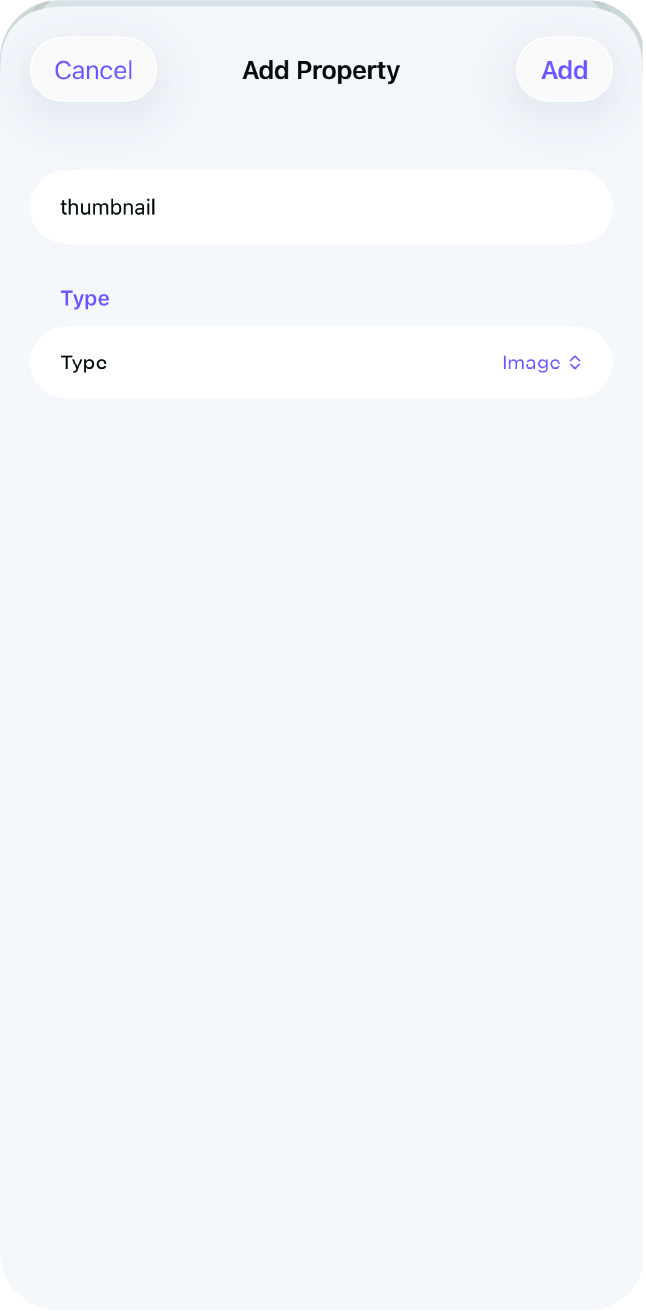
This is the most important step. Properties are the fields you’ll fill in for each item — things like name, brand, purchase date, condition, tags, or any custom field that makes sense for what you’re tracking.
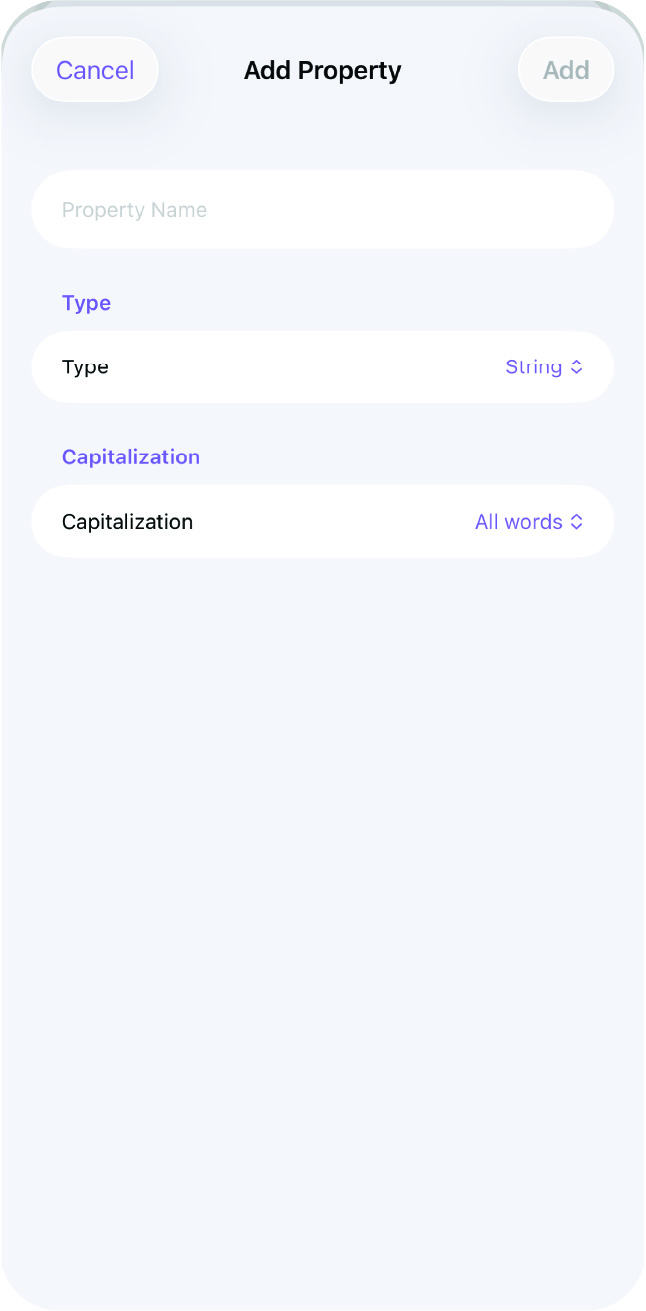
Tap Add Property to create a new one, then set the property type for each field. Available types include text, numbers, dates, currency, tags, images, and more. The order you arrange your properties here is the order they’ll appear when viewing and editing items.
Set Up Your Template Body
Define a body template that will be copied into every new item. This is useful if you want each item to start with a consistent structure — like sections for notes, condition details, or any other information you regularly capture.
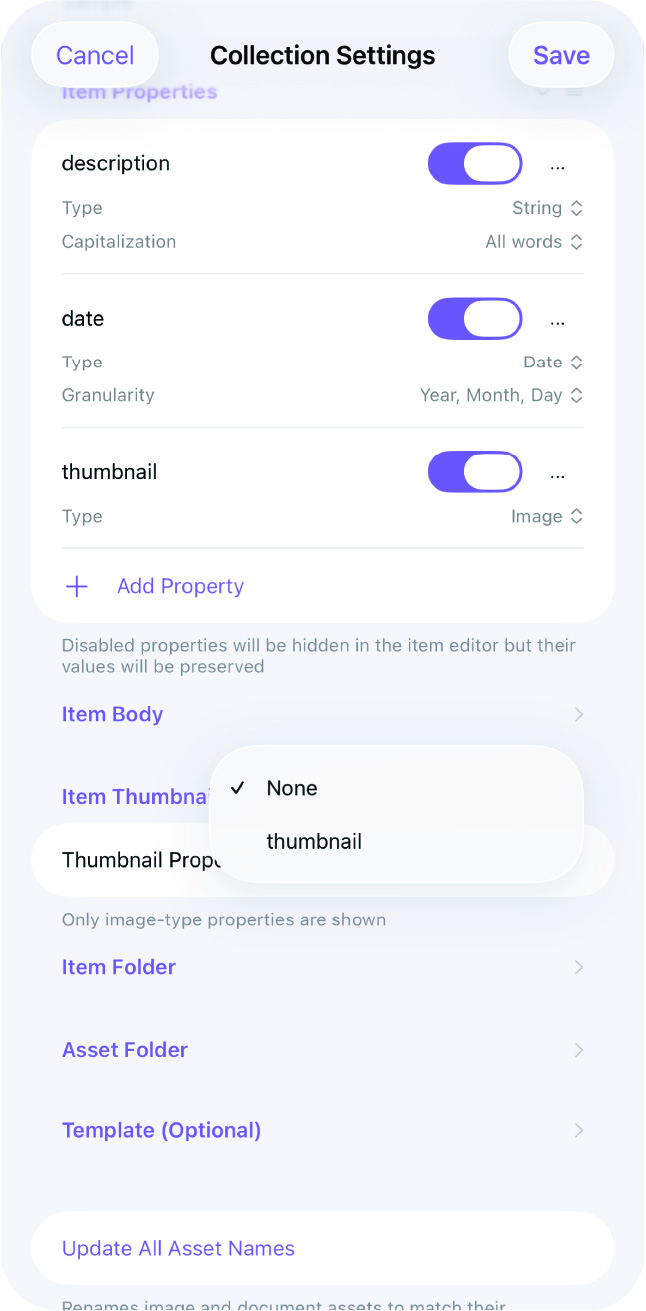
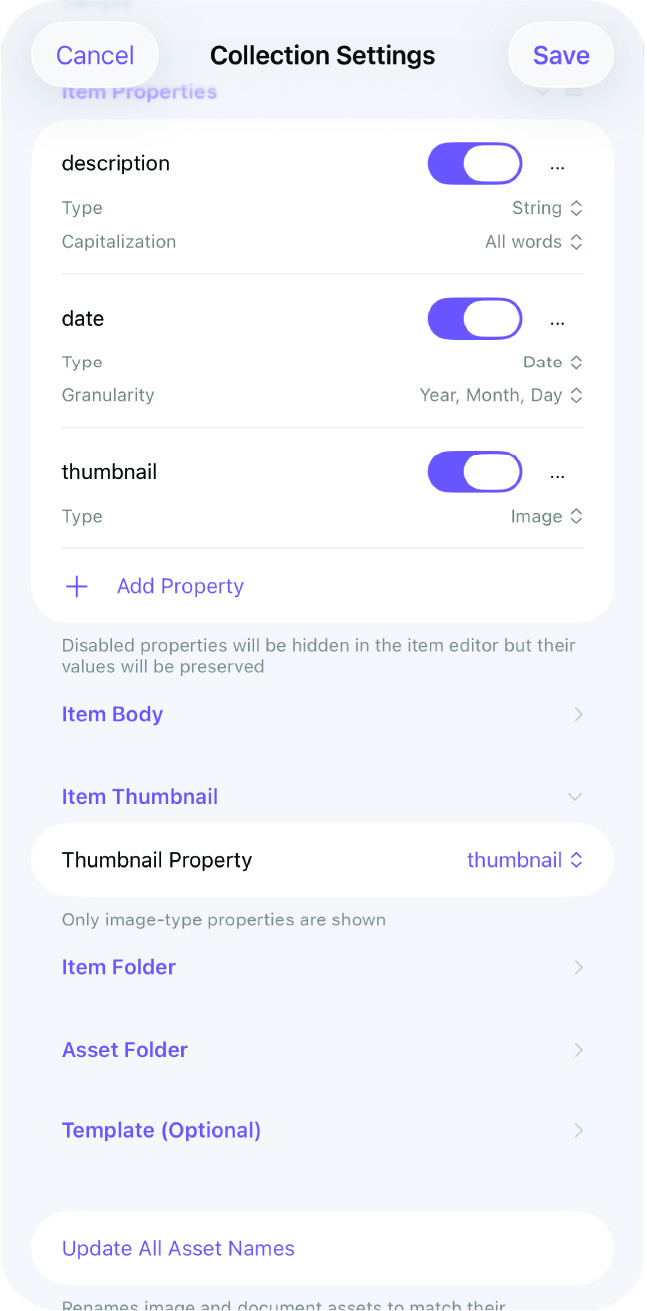
Choose Your Thumbnail Property
Pick which image property will be used to generate thumbnails in list and grid views. This is typically the main photo of the item.
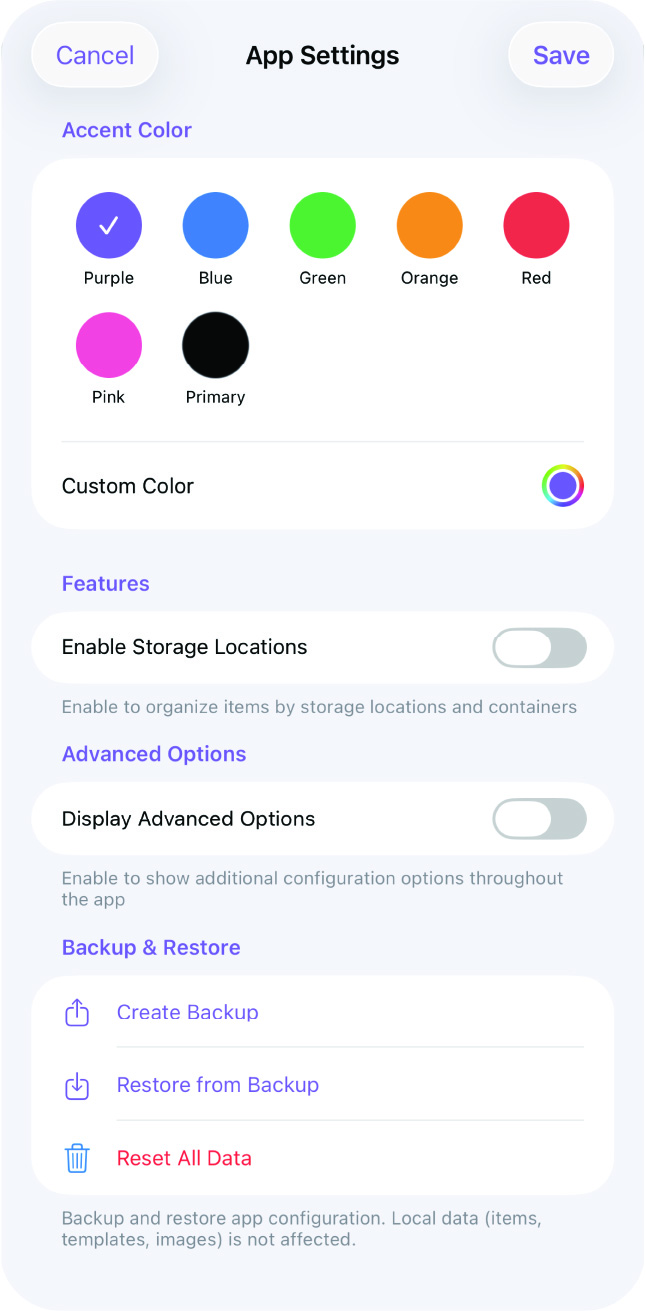
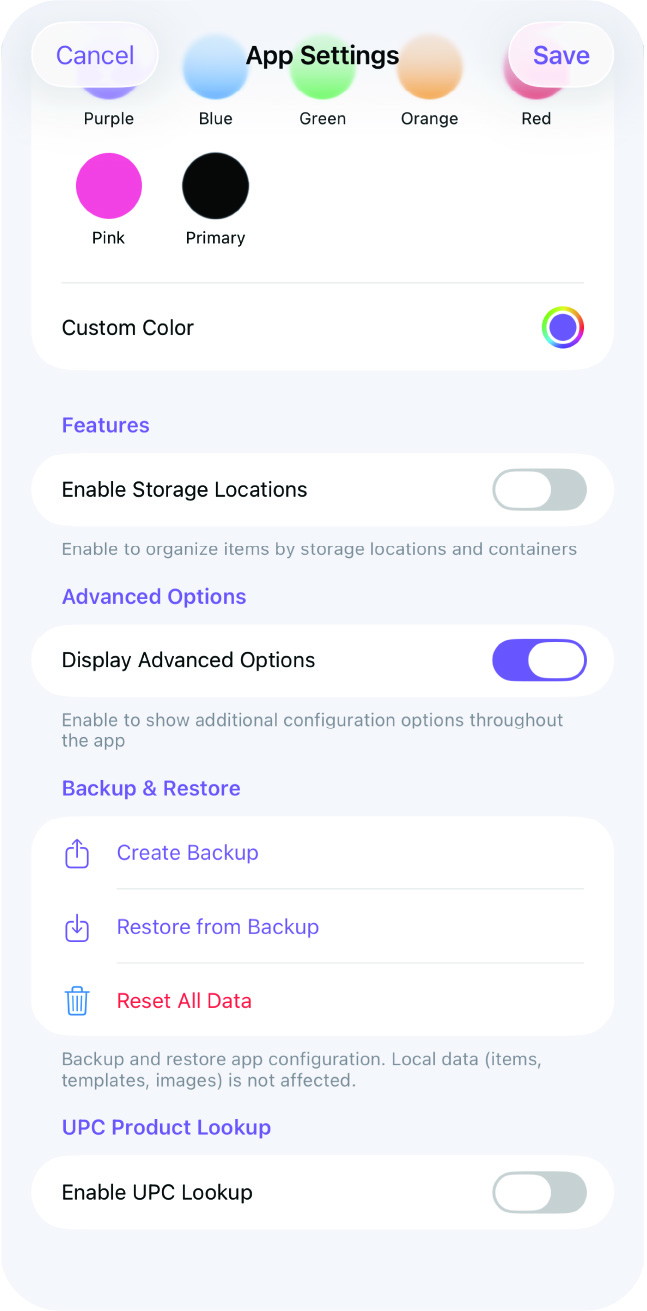
Advanced settings
Initially you are able to add as many properties as you need, configure their types, update the default body, and set the item thumbnails. However, this app makes it possible to do many more things, but you first have to enable these advanced options in the the App Settings.
Configure View Stacks
Choose which properties can be used to group items into stacks. For example, you might group books by genre or tools by category. You can switch between different stack groupings at any time.
Set a Title Template
Define a title template to generate consistent item titles from their properties. For example, a book collection might use {Author} - {Title} so every item is named the same way without you having to type it out each time.
Image Settings
Set the maximum size and quality for images captured within the collection. This helps keep your collection folder size manageable, especially if you’re photographing a lot of items.
Search Properties
Choose which properties are included when you search your collection. By default, item names are always searchable, but you can add other fields — like tags, brand, or description — so searches return more relevant results.
Once everything is configured, press Save to apply your settings.
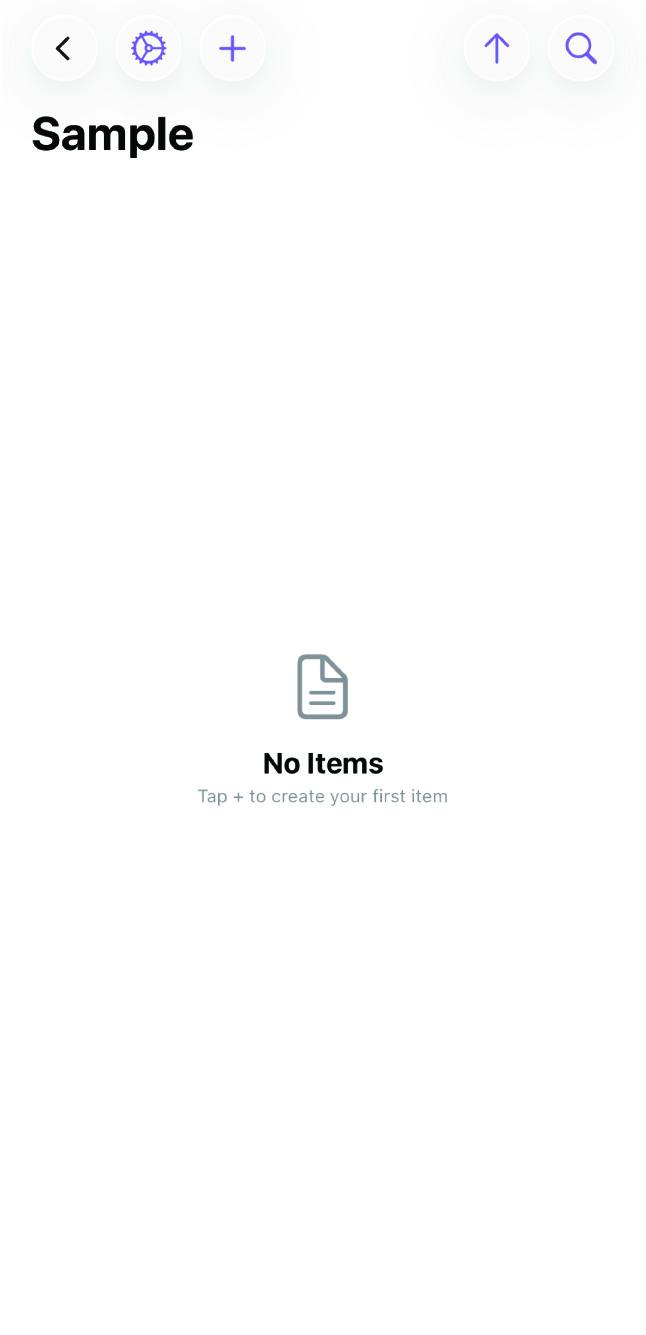
Step 3: Add Your First Item
With your collection set up, it’s time to add an item. Press the + button in the collection view to create a new item.
You’ll see the properties you defined in the previous step, ready to be filled in. Enter your item’s details in the corresponding fields — name, tags, dates, images, or whatever properties you configured. You can also write notes in the body section below the properties.
When you’re done, press Save. Your item is now part of the collection and its data is stored as a Markdown file in your item folder.
What’s Next
From here, you can keep adding items and your collection will start taking shape. As it grows, you might want to explore:
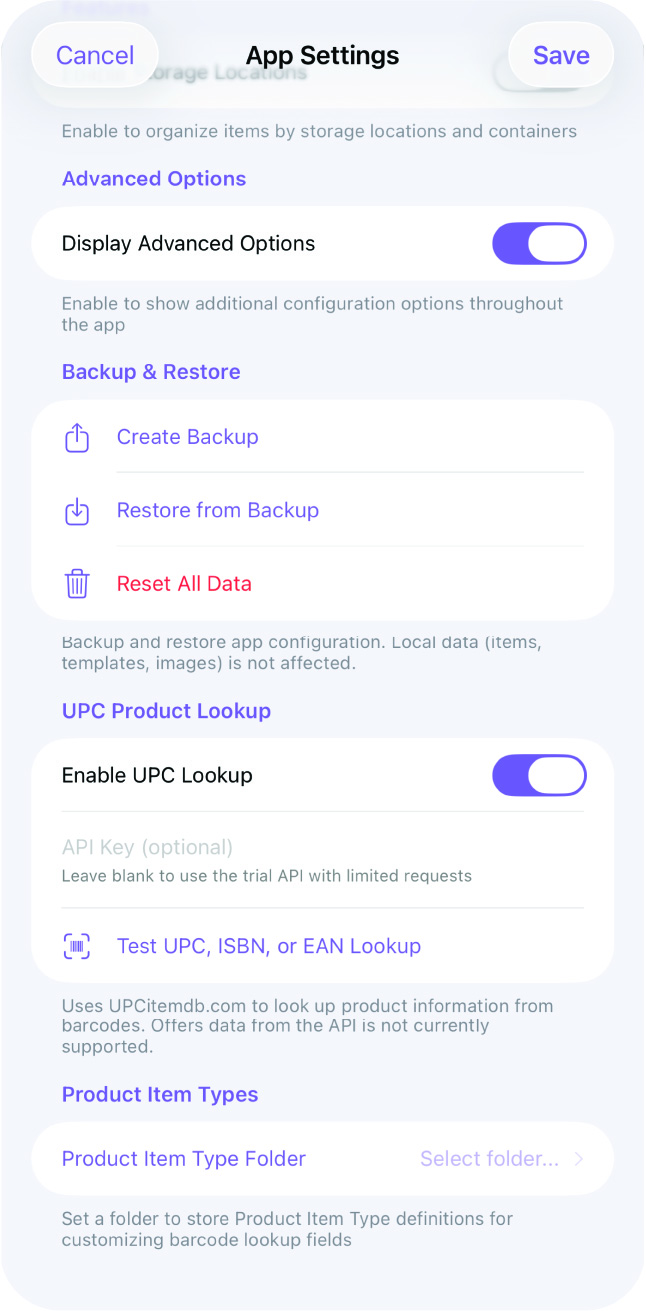
- Barcode scanning — scan product barcodes to auto-fill item details instead of typing them manually.
- Storage locations — track where each item is physically stored and print QR labels for containers.
- Custom views — group items by any property, switch between list and thumbnail views, and sort by different fields.
Your collection files are standard Markdown, so they’re always accessible outside of MDCollections — in Obsidian, a text editor, or any other Markdown-compatible tool.